Brisket Flat vs Point: Which Cut Should You Smoke?
If you've ever bought a whole packer brisket — the kind that weighs 12 to 18 pounds and barely fits in your smoker — you've handled both the flat and the point, whether you realized it or not. They're sold together as one piece, stacked on top of each other with a thick layer of fat in between. But they're fundamentally different cuts with different cooking requirements, textures, and uses.
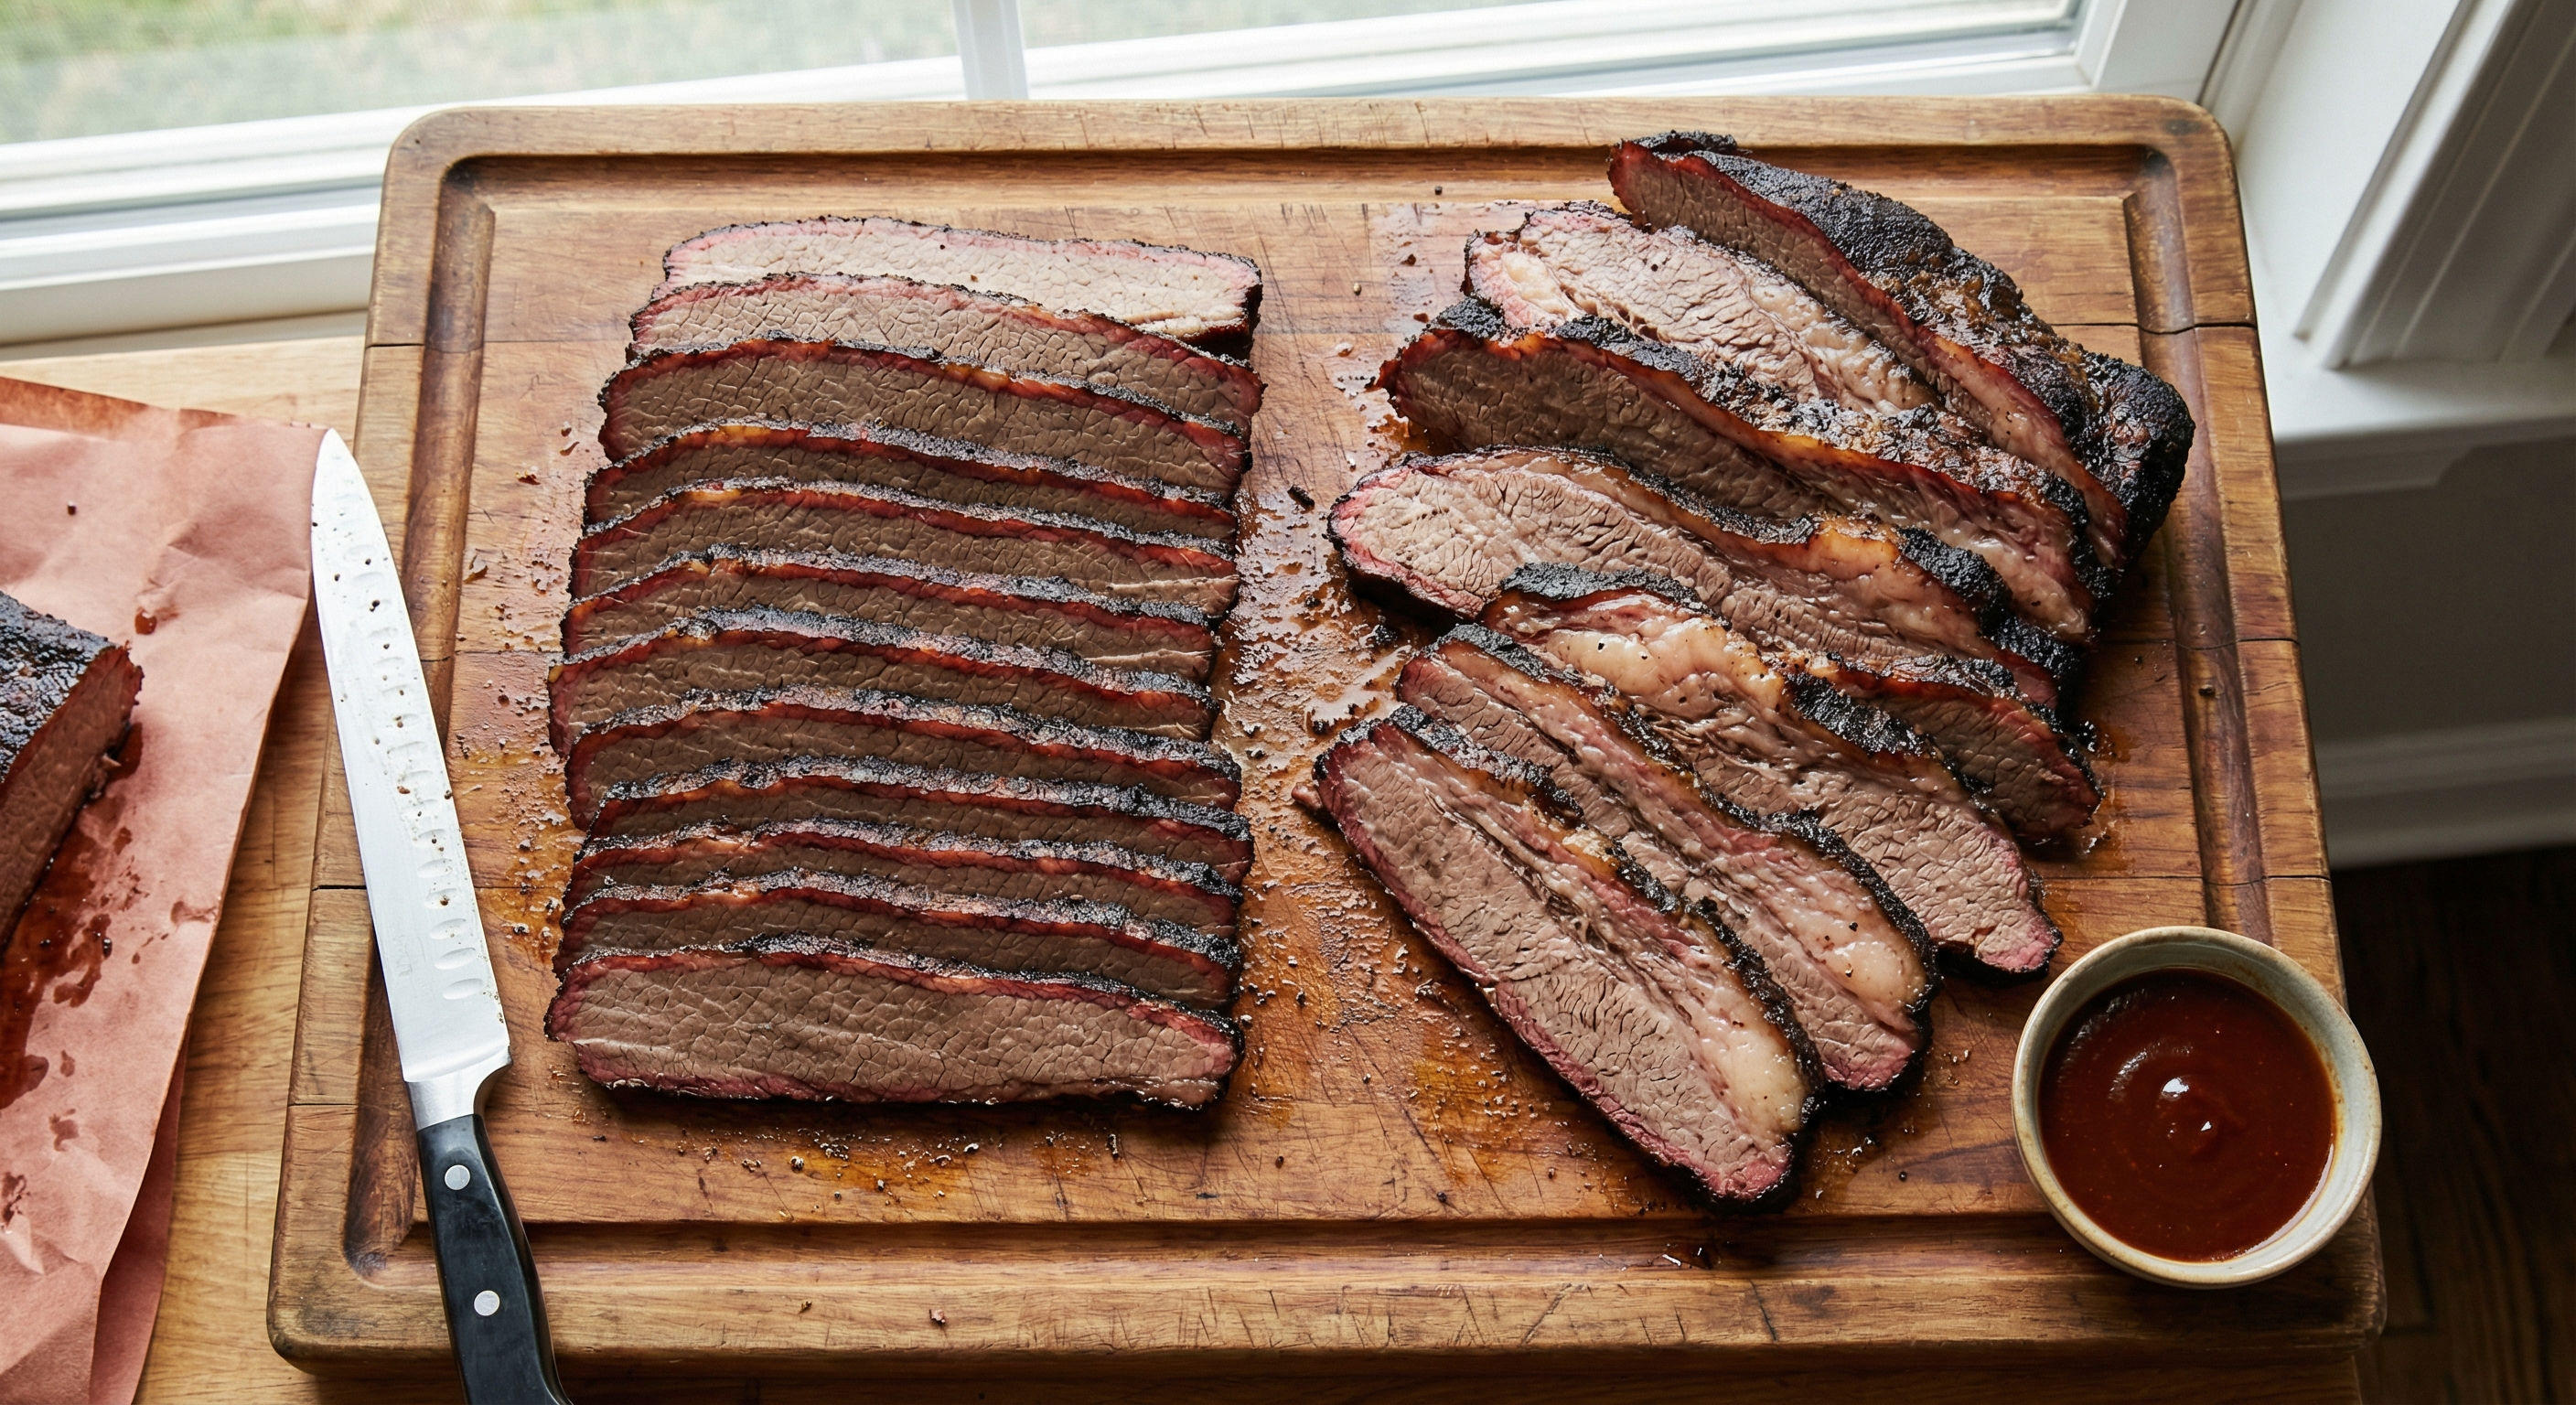
After forty years of breaking down beef, I can tell you this: the decision to cook them together or separate them is one of the most important choices you'll make in your BBQ practice. Get it wrong and you'll end up with a dry flat and an undercooked point, or vice versa. Get it right and you'll have two distinct textures on your cutting board — sliceable, lean beef from the flat and rich, pull-apart burnt ends from the point.
Here's what you need to know about both cuts, how they differ anatomically, and how to handle them depending on whether you're cooking low and slow or need to adapt your technique.
Brisket Anatomy: Two Muscles, One Primal
Brisket comes from the lower chest of the steer, part of the beef forequarter primal. According to the USDA's Institutional Meat Purchase Specifications, a whole packer brisket (IMPS #120) contains two overlapping muscles:
- Brisket flat (pectoralis profundus) — also called the "first cut" or "lean cut." This is the larger, thinner muscle that lies beneath the point. It's relatively uniform in thickness, with minimal internal fat. The flat typically represents 60-70% of the total brisket weight.
- Brisket point (pectoralis superficialis) — also called the "second cut," "deckle," or "fatty cut." This is the smaller, thicker, more triangular muscle that sits on top of the flat. It contains heavy intramuscular marbling and a thick fat cap. The point makes up 30-40% of the total weight.
Between these two muscles is a seam of fat — sometimes a quarter-inch thick — that you can use as a cutting guide if you decide to separate them. This fat layer doesn't render completely even after 12+ hours of smoking, so many pitmasters trim most of it away before reassembling the brisket or before final slicing.
The grain of each muscle runs in different directions. On the flat, the grain runs lengthwise from the thick end to the thin end. On the point, the grain runs more diagonally. This matters when slicing: cutting against the grain on each piece requires rotating your knife angle between the two.
Fat Content and Marbling Differences
This is the single biggest difference and the reason these cuts behave so differently during cooking.
The flat is lean. In my experience trimming hundreds of briskets, a typical flat has 5-10% intramuscular fat by weight. There's an external fat cap on one side (which you trim before cooking), but the interior muscle tissue itself is relatively lean compared to ribeyes or short ribs. This leanness makes the flat prone to drying out if you overcook it or if it spends too long above 205°F internal temperature.
The point is heavily marbled. Internal marbling in the point can run 20-30% by weight. When you slice into a properly cooked point, you'll see ribbons of rendered fat between the muscle fibers. This marbling is what makes burnt ends so rich and why the point stays moist even when cooked to 210°F+.
The difference in fat content also affects cooking time. The flat, being leaner, can dry out faster if you're not wrapping or spritzing. The point has built-in insurance — that marbling bastes the meat from the inside as it renders.
When to Cook Them Together (Whole Packer)
Most traditional Texas-style BBQ cooks the brisket whole. There are good reasons for this:
- Moisture retention: The point sits on top of the flat during cooking, shielding it from direct heat and helping keep the leaner meat moist.
- Fat rendering: As the point renders, some of that fat drips down into the flat, adding moisture and flavor.
- Thermal mass: A whole packer brisket holds temperature more evenly than two separated pieces. Less surface area exposed means slower evaporation.
- Presentation: There's something visually impressive about slicing a whole brisket tableside, especially at competitions or family gatherings.
If you're cooking whole, expect 1 to 1.5 hours per pound at 225-250°F. For a 14-pound packer, that's 14-21 hours. You'll pull it when the flat hits 200-205°F internal and the point is closer to 205-210°F. Let it rest for at least an hour (wrapped in butcher paper or foil, then towels, in a cooler).
The downside: you can't independently control doneness. If the flat is perfect at 203°F, the point might still be at 198°F and not quite probe-tender. If you wait for the point to finish, the flat can overcook. Most pitmasters accept this tradeoff as the cost of traditional whole-brisket smoking.
When to Separate the Flat and Point
Separating the two cuts before cooking gives you more control, but it changes the final product. Here's when I recommend it:
- You're making burnt ends. Burnt ends are traditionally made from the point only. Separating lets you cube and sauce the point separately while slicing the flat for traditional brisket service. Understanding the BBQ stall helps you time the point cubes correctly.
- You have limited smoker space. Two smaller pieces stack or fit side-by-side more easily than one massive packer.
- You want faster cooking. Separated cuts cook faster because they have more surface area and less thermal mass. A 7-pound flat might finish in 8-10 hours instead of 16.
- You're cooking for different preferences. Some people prefer lean sliced brisket; others want fatty, pull-apart meat. Separating lets you serve both.
To separate, lay the brisket fat-side down. You'll see the fat seam running between the two muscles. Use a sharp boning knife to follow that seam, cutting away the point from the flat. Trim the excess fat from the seam (most of it won't render anyway). Now you have two distinct pieces to season and cook independently.
Cook the flat to 200-203°F and the point to 205-210°F. The point will take longer even though it's smaller — that extra marbling requires more time to break down.
How to Separate a Whole Packer Brisket
Here's the step-by-step I use in the shop:
- Place the brisket fat-side down on your cutting board.
- Locate the fat seam — it's the thick white layer between the two muscles, usually most visible from the side.
- Insert a sharp boning knife (6-inch flexible blade works best) into the fat seam at the thickest part of the point.
- Follow the natural seam, cutting parallel to the flat. Use long strokes and let the knife do the work — you shouldn't need to saw.
- As you cut, gently pull the point away from the flat to open up the seam and give yourself visibility.
- Once separated, trim away the thick fat from both sides of the seam. Leave a thin layer (⅛-inch) for moisture, but remove anything thicker than ¼-inch — it won't render.
- Square up the edges of both cuts, removing any loose flaps or uneven sections.
Total time: 3-5 minutes if you've done it a few times. First time might take 10 minutes. Don't rush it — a clean separation makes for better presentation later.
Cooking Times and Temperatures
These are the target temperatures I use, based on testing with a Thermapen probe and feel (the "probe-tender" test where a skewer or probe slides in with no resistance, like soft butter):
Brisket Flat:
- Remove at 200-203°F internal (measured at the thickest part)
- Should pass the probe-tender test — no resistance
- Rest for 1-2 hours minimum before slicing
- Typical cook time: 1-1.25 hours per pound at 250°F
Brisket Point:
- Remove at 205-210°F internal
- Should be jiggly when you shake the piece — that's the collagen fully converted to gelatin
- Rest for 1 hour if slicing; no rest needed if making burnt ends (you'll cube and cook further)
- Typical cook time: 1.25-1.5 hours per pound at 250°F
For reference, Texas A&M's Meat Science Department notes that collagen (the connective tissue that makes brisket tough) begins breaking down into gelatin at 160°F but requires sustained time above 180°F to fully convert. That's why low and slow works — you're holding the meat in the sweet spot long enough for that conversion to complete.
Texture and Flavor Comparison
When I teach butchery classes, I always have students taste both cuts side by side. Here's what you'll notice:
Brisket Flat:
- Texture: Firm but tender when sliced thin against the grain. Should hold its shape on the cutting board.
- Flavor: Clean, beefy, relatively mild compared to the point. Takes smoke flavor well because of its leanness.
- Best uses: Sliced brisket for sandwiches, traditional BBQ plates, presentation slices
- Pitfalls: Dries out easily if overcooked or if you don't wrap during the stall. Becomes chewy if undercooked (below 195°F).
Brisket Point:
- Texture: Rich, almost unctuous when fully rendered. Shreds easily with a fork. Less structurally intact than the flat.
- Flavor: Intensely beefy, fatty, with a deeper smoke ring. The marbling amplifies the rub and bark flavors.
- Best uses: Burnt ends, chopped brisket, tacos, brisket chili, anything where you want shredded or cubed meat
- Pitfalls: Difficult to slice cleanly — the marbling makes it fall apart. Not ideal if you want uniform slices.
In my experience, people who prefer lean meat (filet mignon types) gravitate toward the flat. People who love ribeye and short rib prefer the point. Neither is better — they're just different.
Best Uses for Each Cut
Here's how I'd deploy each cut depending on what you're cooking:
Use the flat when you want:
- Clean, sliceable brisket for sandwiches or platters
- Lower-fat options for guests watching calories
- Traditional Texas-style brisket presentation (neat slices with visible smoke ring)
- Cold brisket the next day — the flat reheats better and stays intact
Use the point when you want:
- Burnt ends (cubed, sauced, caramelized point pieces)
- Chopped or pulled brisket for nachos, tacos, loaded fries
- Maximum flavor and richness — the "wow factor" pieces
- Brisket chili or stew (the point holds up to liquid cooking better)
At competitions, I'll often cook the flat and point separately, slice the flat for presentation, and cube the point for burnt ends. That way judges get both textures. At home, I usually cook them together and separate after cooking — less work, same result.
Common Questions From the Butcher Counter
Q: Can you buy just the flat or just the point separately?
Yes, but availability varies. Costco and Sam's Club usually sell only whole packer briskets. Some grocery stores and butcher shops will sell a "brisket first cut" (flat only) or "brisket deckle" (point only). The flat is more commonly sold separately because it's easier to package and slice. The point is harder to find retail, but you can ask your butcher to separate one for you — most will do it for free or a small fee.
Q: Is one cut more expensive than the other?
Per pound, they're usually priced the same when sold separately ($8-12/lb for Choice grade, $12-18/lb for Prime). The whole packer is typically cheaper per pound ($5-8/lb) because you're buying in bulk and doing your own trimming. If you see "brisket flat" priced significantly higher than packer brisket, you're paying for the convenience of pre-trimming and separation.
Q: Should beginners start with the flat or the whole packer?
I recommend starting with a whole packer. Yes, it's intimidating, but the point protects the flat from drying out and you get to learn both cuts at once. A flat-only brisket is less forgiving — there's no fat cap on top to baste the meat, so you're relying entirely on wrapping and spritzing to keep it moist. Once you've cooked two or three whole packers successfully, then experiment with separating them.
Q: Can you substitute one for the other in recipes?
Not really. A recipe calling for "brisket" usually means the flat (sliced). If you substitute the point, you'll get fattier, less structured meat that might fall apart in sandwiches. Conversely, if a recipe calls for "chopped brisket" or "burnt ends" (point territory), using the flat will give you drier, less flavorful results. Stick to the cut the recipe specifies, or adjust cooking time and technique accordingly.
Final Recommendation: Which Should You Choose?
If you're cooking for a crowd and want traditional BBQ brisket — sliced, smoky, with that iconic bark — go with the whole packer and separate after cooking (or not at all). This is the most forgiving approach and gives you both textures on the same platter.
If you want maximum control and you're specifically making burnt ends, separate them before cooking and treat each cut independently. The extra effort pays off in consistent doneness and the ability to finish the point with sauce and high heat while keeping the flat pristine.
If you're short on time or smoker space, buy just the flat and cook it like a large roast — wrap it early (around 165°F), cook to 200-203°F, rest thoroughly, and slice thin. You won't get burnt ends, but you'll get excellent sliced brisket in 8-10 hours instead of 16.
And if you want the richest, most intensely flavored brisket experience, buy just the point, cook it to 210°F, cube it, toss it in sauce, and finish it under high heat for 20 minutes. You'll have the best burnt ends you've ever made — and wonder why you bothered with the flat in the first place.
Both cuts have a place in the BBQ arsenal. Understanding what each one brings to the table — literally — is what separates good brisket cooks from great ones.
Related Resources
If you're looking for more detail on brisket selection, here's how to choose the right brisket at the butcher counter (marbling, flexibility, thickness checks). And for pairing your finished brisket with the right sides and drinks, this brisket pairing guide covers everything from wines to craft beers.
Once your brisket is smoked, you'll want to know the best techniques for finishing beef cuts with reverse searing (useful if you're doing burnt ends with high heat at the end), and if you're working with other tough cuts, check out our guide on choosing the best beef cuts for pot roast and braising.
More Expert Guides
What Is Chateaubriand? (Cut, Cooking, & Best Sources)
Chateaubriand is a thick-cut roast from the center of the beef tenderloin, traditionally served for two. Learn what makes this classic French cut special and how to cook it.
14 min readWhat Is Round Steak? The Complete Guide to Beef's Most Versatile Budget Cut
Round steak comes from the rear leg of the cow — it's lean, affordable, and misunderstood. A master butcher breaks down every sub-cut, cooking method, and technique to turn this budget workhorse into genuinely delicious meals.
14 min readWhat Is Eye of Round? The Complete Butcher's Guide to This Lean Cut
Eye of round is one of the leanest, most affordable cuts in the entire beef case — and one of the most misunderstood. A butcher explains how to turn this budget-friendly roast into something genuinely delicious.